0 item(s)
View cart
You have no items in your shopping cart.


Replacing stringers is no small task. It’s one of the most important structural repairs you can make for your boat, but it requires precision, patience, and planning. Whether you’re repairing damage or upgrading your vessel, one often-overlooked step can set you up for success before you even begin cutting or shaping materials. That step? Creating a precise template. While it may seem time-consuming, crafting templates for your stringer replacement eliminates guesswork and ensures a perfect fit, saving you both time and frustration in the long run.
This post will guide you through the benefits of using templates, share key instructions for making them, and set you up for success on your replacement project.
The Importance of Using a Template for Stringer Replacement
When it comes to replacing key structural parts like stringers, precision is everything. These components provide the backbone for your boat’s strength, stability, and overall performance. Mistakes or inaccuracies can lead to compromised structural integrity, reduced efficiency, or even safety risks.
Using a template allows you to:
Creating a template might seem like an unnecessary extra step, but it’s invaluable when you consider the precision required for a replacement of this magnitude.
How to Create a Template for Stringers and Transoms
Now that you understand the value of using a template, let's walk through the steps to create one. While every boat is unique, the general process can be applied to most stringer replacements.
Materials You'll Need
Before you begin, gather the following tools and materials:
For more durable templates, you may opt for medium-density fiberboard (MDF).
1. Assess the Existing Stringers
Start by thoroughly assessing your current stringers. If possible, use the old stringers as a reference. While they may not provide a perfect match due to deterioration or swelling, they give you a basic guide to start with.
2. Measure the Area
Using a measuring tape, take detailed measurements every 12 inches or so on the long side of the stringers. If the stringer are too rotted out, use string and wrap it around 2x4’s and then measure. Be sure to account for:
Precision is key here. Write down every measurement and double-check to ensure accuracy.
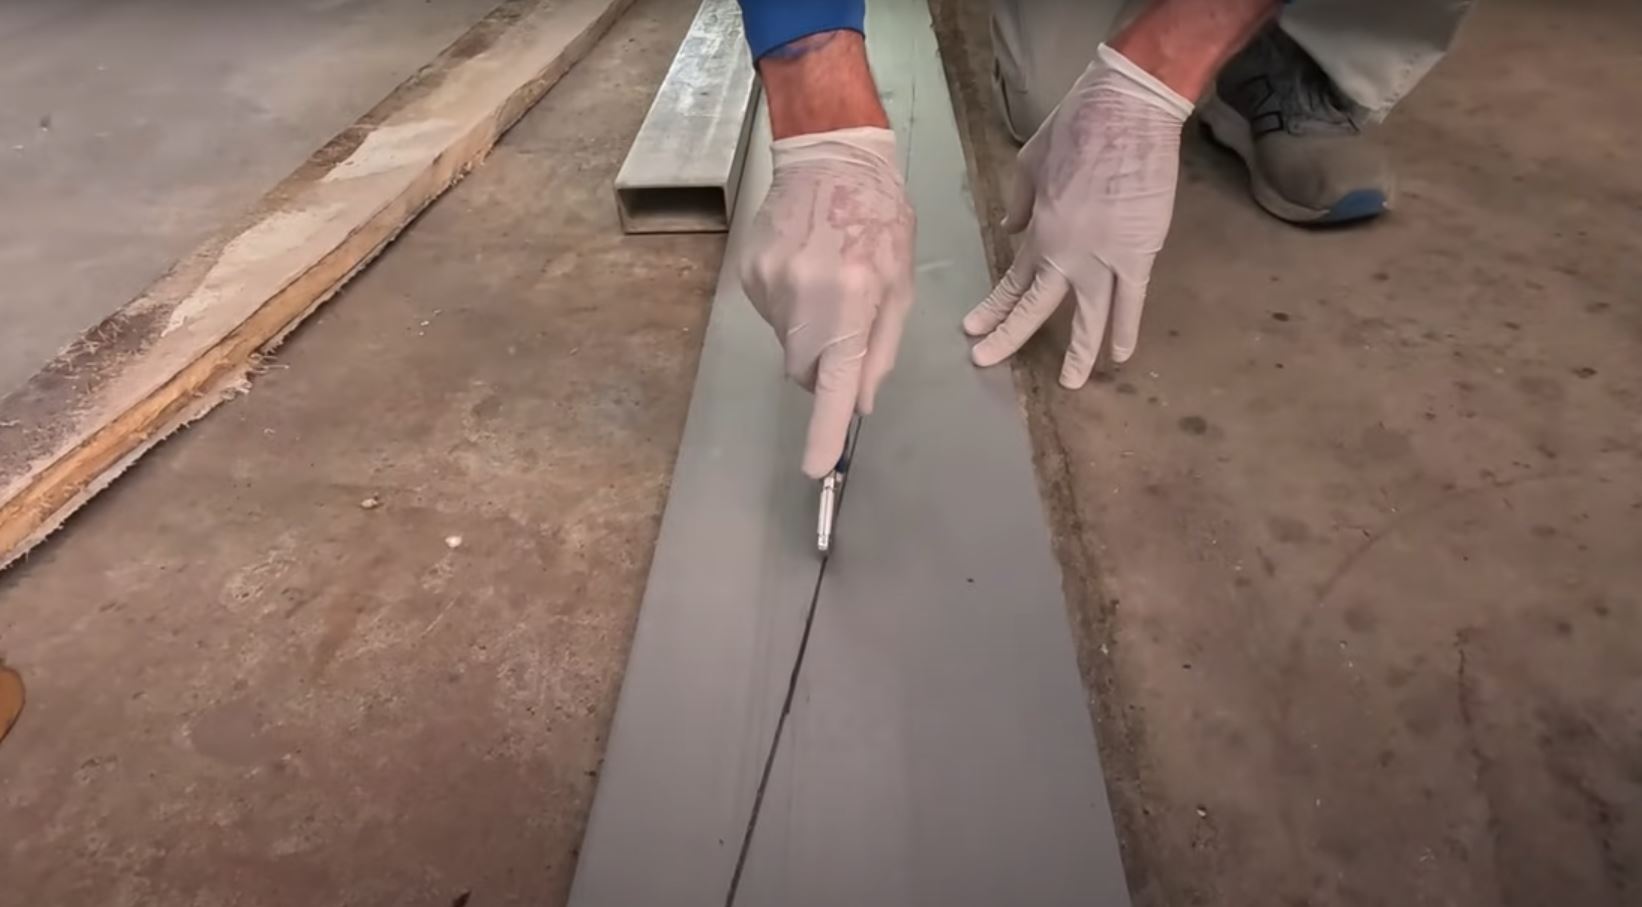
3. Create a Rough Template
Once you’ve measured, transfer those dimensions to a sheet of cardboard or plywood. If the stringers can be removed, carefully do so and lay over template. Outline the general shape of the stringer using a ruler or straight edge for clean lines. You may need to add some height to the old stringers. If you’re working with curves, a flexible ruler can help you replicate the angles more easily.
Cut out the rough shape using a utility knife, scissors, or jigsaw.
4. Test Fit and Adjust
Place your rough template into the intended location and check for accuracy. Identify any areas that don’t align properly. Use masking tape to temporarily secure the template in place and ensure it sits flush with the surrounding surfaces.
Mark areas that need adjustment with a sharpie or marker, then trim or sand as needed until the template fits perfectly. This step may require multiple iterations, but don’t rush it. A precise fit now will save you frustrations later when working on the actual replacement.
5. Account for Any Hardware or Attachments
If your stringers require openings for specific hardware, mounting points, or attachments, mark these spots on the template.
Cut finishing holes or slots into your template as needed, and verify their positions by test-fitting again.
6. Transfer the Template to Your Final Material
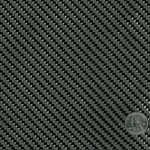
When your template fits perfectly, it’s time to transfer the design to the final material (e.g., marine-grade plywood or composite core). Trace the template outline carefully, ensuring all lines are accurate and clear.
Cut out the stringers following the traced pattern. Double-check your work by placing the newly cut piece back into position on the boat. It should align seamlessly if you followed your template properly.
7. Seal and Prepare for Installation
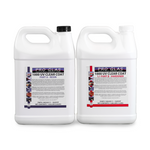
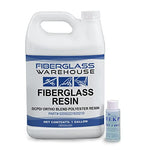
Before installation, seal your final piece with polyester, vinyl ester or epoxy resin to prevent moisture damage and prolong its lifespan. Once cured, your new stringer is ready for mounting.
By taking the time to create and use a template, you'll be setting yourself up for a smoother, more successful replacement.
Final Thoughts
Creating a template for your stringer replacement is not just a "nice-to-have" step; it’s essential for ensuring precision, efficiency, and long-term durability. While it might take a few extra hours upfront, the time and effort saved down the line make it a worthwhile investment. The same process can be used for a transom replacement as well.
Need more guidance on your next DIY boat repair project? Contact our customer service team or check out our comprehensive guides. Email sales@fiberglasswarehouse.com or call 833-669-7899. With proper preparation and the right resources, you can tackle even the most challenging repairs like a pro.
Check out Captain Joe at Fish Bump TV on YouTube to watch as he creates stringer templates for the perfect fit! Click HERE.